
Cleaning an Office: Step-by-Step Checklist and Schedule
The fastest way to handle cleaning an office is to work in a fixed order: empty the trash, dust from top to bottom, disinfect high-touch surfaces, clean the break room and restrooms, and vacuum and mop the floors last. Repeat that sequence daily, add a deeper pass once a week, and a small office stays clean in under two hours a day.
Most offices fall short because nobody owns the job. Trash gets emptied but desks never get wiped. Someone mops before dusting, so dust settles back onto clean floors. A cloth used in the restroom ends up on a conference table. The result looks tidy at a glance and still spreads germs and grime.
This guide gives you the supplies, a four-step routine, and a daily, weekly and monthly schedule. It follows the same checklist logic that professional crews use, including the crews at Sacramento Cleaning Services LLC, who clean offices across the Sacramento area. You can run it with your own team.
Before you start: supplies, schedule and timing
Before cleaning an office, gather a small kit, decide what happens daily versus weekly, and block enough time to finish in one pass. Ten minutes of setup prevents the usual mistakes, like running out of liners halfway through or using one cloth on every surface.
Supplies to gather
A basic kit covers almost every task. Keep it on one cart so one person can run the whole route.
- Microfiber cloths in four colors: general surfaces, break room, restrooms, glass
- All-purpose cleaner and an EPA-registered disinfectant
- Glass cleaner and a squeegee or lint-free cloths
- Toilet bowl cleaner, a bowl brush, and rubber gloves
- Trash liners in the sizes your bins use
- An extendable duster, a vacuum, a dust mop, and a mop with bucket
- Restock items: hand soap, paper towels, toilet paper
Read the labels before you start. Clean first, then disinfect , because a disinfectant cannot work through a layer of grime. Follow the contact time on the label , which is how long the surface must stay visibly wet, and never mix bleach with ammonia or acid-based products.
A disinfectant only works on a surface that is already clean and stays wet for the full label time.
What to clean daily, weekly and monthly
Splitting the work by frequency keeps the daily route short. Use this table as a starting schedule and adjust it for foot traffic.
| Frequency | Tasks |
|---|---|
| Daily | Empty trash and recycling, wipe desks and shared surfaces, disinfect high-touch points, clean and restock restrooms, wipe break room counters and sink, vacuum high-traffic areas, mop hard floors |
| Weekly | Dust shelves, filing cabinets and cubicle walls, vacuum all carpet including under desks, clean glass doors and partitions, clear expired food from the fridge, wipe the inside of the microwave |
| Monthly | Dust vents and blinds, vacuum upholstery, wash interior windows and sills, wipe baseboards, clean light fixtures, spot-treat carpet stains |
Offices with heavy visitor traffic, shared desks, or a waiting room should move weekly sanitizing tasks into the daily column.
How long a typical clean takes
For a ten-desk office with one restroom and a small break room, one cleaner needs about 100 minutes for a daily clean. That splits across the four steps below:
- Step 1, trash and dusting: 20 minutes
- Step 2, workstations and high-touch points: 20 minutes
- Step 3, break room (15) and restroom (20): 35 minutes
- Step 4, vacuuming and mopping: 25 minutes
Larger floor plans add time, but restrooms and the break room do not shrink with the headcount. Treat these numbers as a baseline you adjust after your first week.
Step 1. Clear trash and dust top to bottom
Start cleaning an office by emptying every bin and clearing loose clutter, then dust from the highest surface to the lowest. Gravity moves dust downward, so working top to bottom means you clean each surface once instead of twice.
Empty bins and clear clutter
Walk one loop through the office and collect trash and recycling from every desk, meeting room, copy area and break room. Replace each liner as you go. Check the bottom of each bin for leaks or sticky residue, and wipe the inside if you find any.
Leave paper on desks alone unless you have been told otherwise. Only items in bins are trash, and loose documents may be confidential . Straighten chairs and push in keyboards trays so the next steps run smoothly. Carry the full bags out at the end of the loop, not one by one, to save trips.
Collect trash in one loop and leave desk papers untouched, because a cleaner should never decide what counts as waste.
Dust from high to low
Use a damp microfiber cloth or an electrostatic duster. A dry feather duster mostly relocates dust into the air, where it lands on surfaces you have already finished. Follow this order:
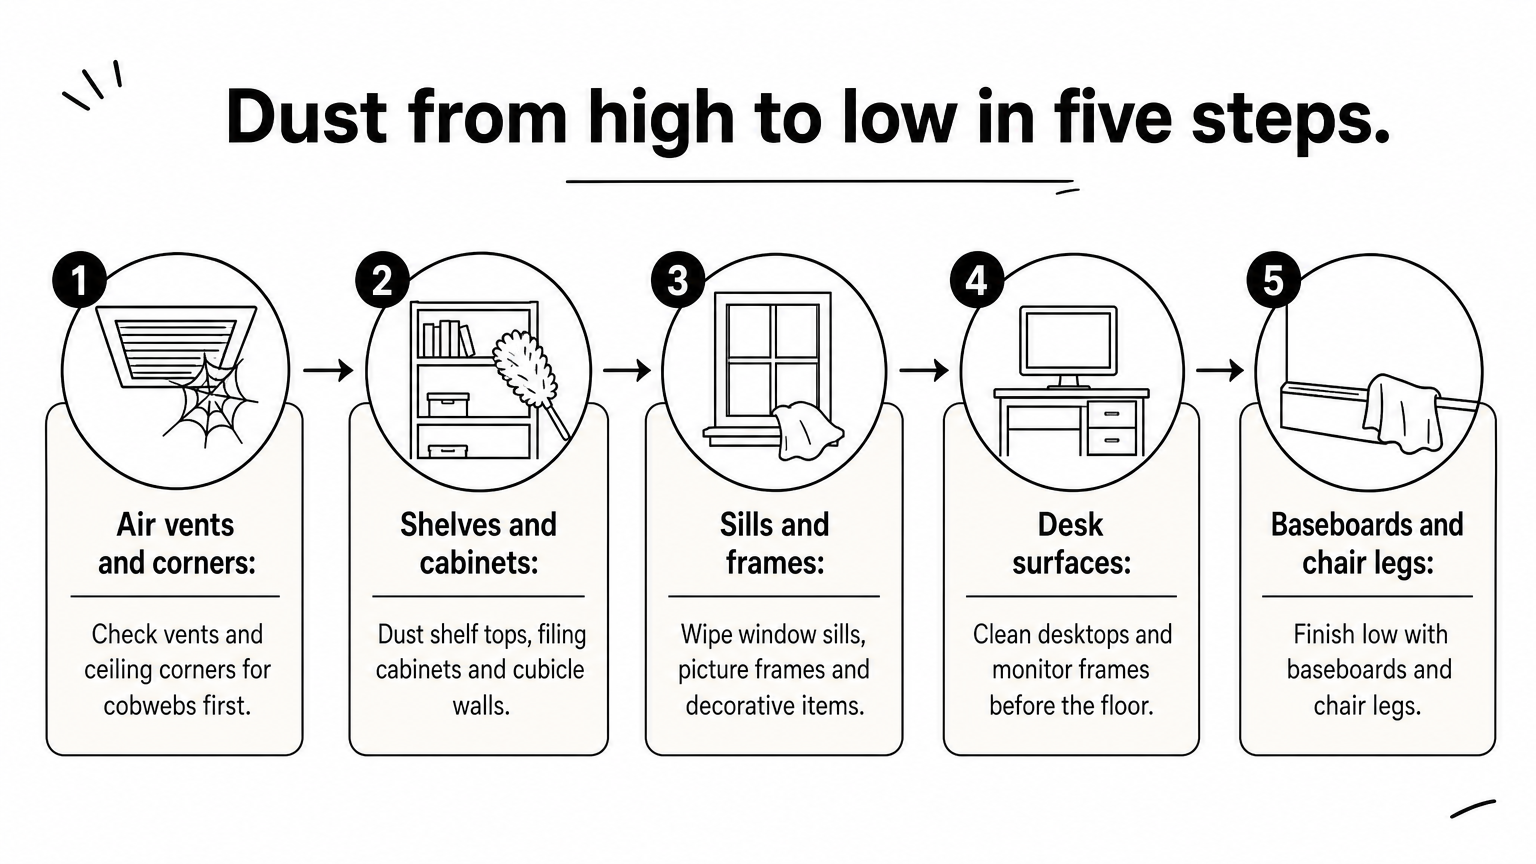
- Air vents and ceiling corners, checking for cobwebs
- Tops of shelves, filing cabinets and cubicle walls
- Window sills, picture frames and decorative items
- Desk surfaces and monitor frames
- Baseboards and chair legs
Do the full sweep weekly. On the other days, a quick pass over desks, reception counters and shelves at eye level is enough.
Step 2. Sanitize workstations and high-touch points
After dusting, wipe each workstation, then disinfect the surfaces that dozens of people touch every day. These points spread germs fastest, so they matter more than any visible dirt.
Wipe and sanitize workstations
Lift items, wipe the surface under them, and set them back where they were. Clean the desktop, phone, mouse, keyboard, and chair armrests with an all-purpose cleaner or disinfectant wipe. Spray the cloth, never the electronics , because liquid that runs into a keyboard or monitor causes damage that no one will blame on the cleaner until it is too late.
If you share desks, disinfect the whole workstation daily. If each person has a fixed desk, wipe daily and disinfect weekly, unless someone has been sick.
Disinfect the high-touch list
Work through the same list every day, and keep it in your checklist so nothing gets skipped:
- Door handles and push plates, inside and out
- Light switches and thermostat panels
- Elevator buttons and stair handrails
- Printer, copier and coffee machine controls
- Conference table edges, remotes and whiteboard markers
- Reception counter and shared phones
Apply the disinfectant, leave it wet for the time printed on the label, then let it air dry or wipe it if the label says so. Fold your cloth to a clean side after every few surfaces, and swap it for a fresh one when it is soiled.
Ten minutes spent on the high-touch list does more for hygiene than an hour of wiping surfaces nobody touches.
Step 3. Clean the break room and restrooms
When cleaning an office kitchen and bathrooms, do the break room first and the restrooms second, using separate cloths and mop heads for each. Work from cleaner areas to dirtier ones so you never carry restroom germs into a space where people eat.
Break room and kitchen
Clear the counters and tables, then wipe them with cleaner and finish with disinfectant. Clean the sink and faucet, then the exteriors and handles of the microwave, refrigerator and coffee machine. Empty the trash and recycling last.
Once a week, clear the fridge of expired food. Friday afternoon works well because anything left over the weekend will smell by Monday. Also wipe the inside of the microwave weekly by steaming a bowl of water for a few minutes and wiping the loosened residue.
The break room is where office cleaning most often gets skipped, and it is also where people eat.
Restrooms
Cleaning an office bathroom goes fastest in a set order, so each product has time to work:
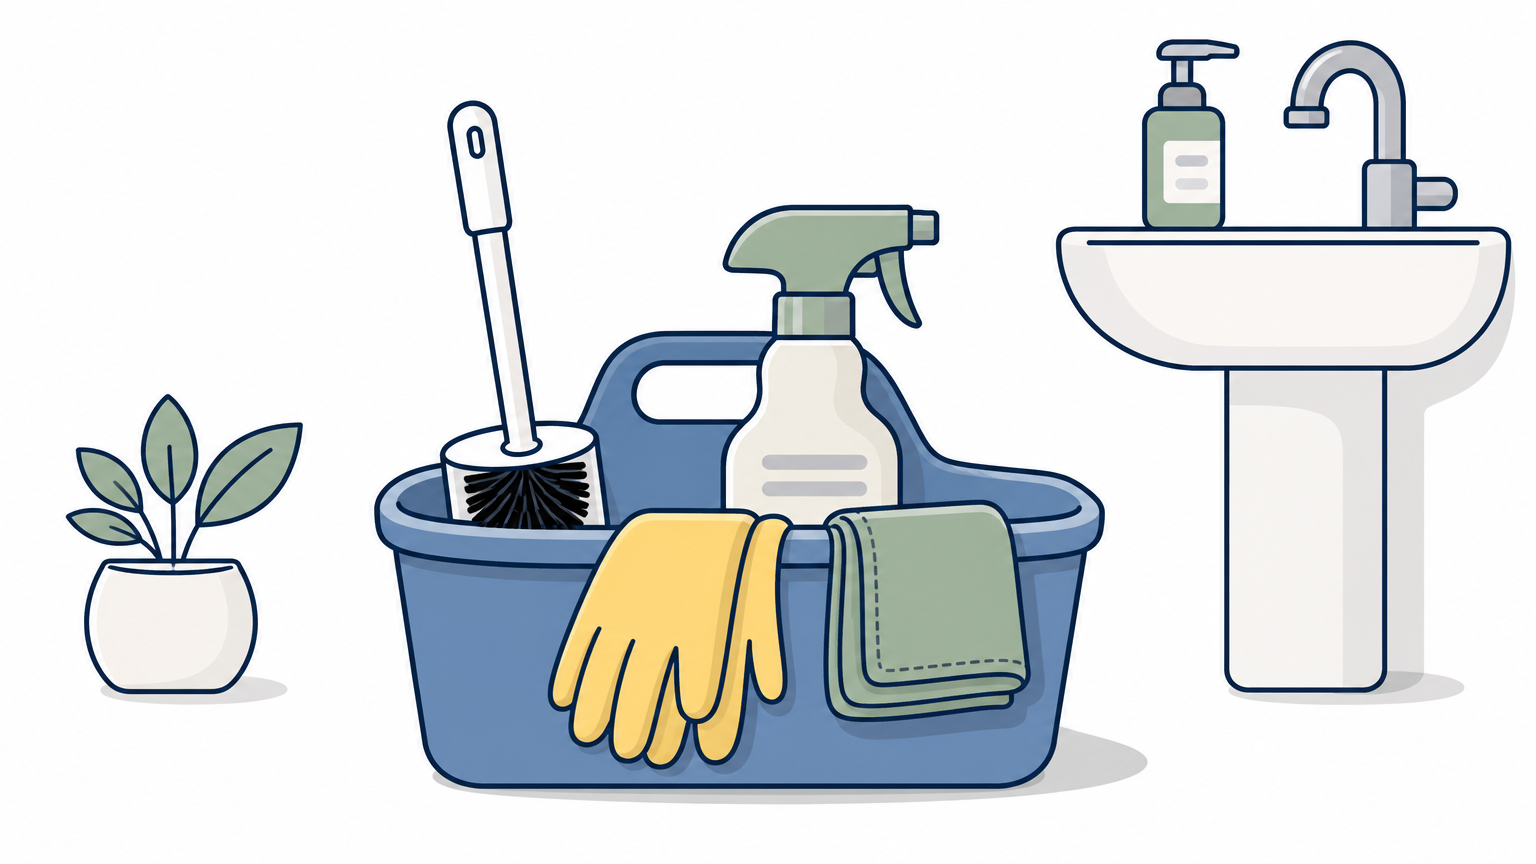
- Put on gloves and apply toilet bowl cleaner under the rim, then leave it to sit.
- Empty trash and sanitary bins.
- Wipe mirrors, then sinks, faucets and counters.
- Disinfect partitions, door handles and stall locks.
- Scrub the toilet bowl, then wipe the seat, rim, exterior and base, finishing with the flush handle.
- Refill soap, paper towels and toilet paper.
Use the restroom-only cloths for all of this and discard or launder them afterward. Leave the floor for Step 4 so it is the last thing you mop.
Step 4. Vacuum and mop floors last
Finish with the floors, because every earlier step knocks dust and crumbs downward. Vacuum carpet and dust-mop hard floors first, then wet-mop, and do the restroom floor last of all.
Vacuum carpets and mop hard floors
Vacuum in overlapping rows, starting at the far end of each room and backing toward the door so you do not walk on finished carpet. Cover entryways, corridors and reception daily, since that is where most grit enters. Move chairs and vacuum under desks weekly. A vacuum with a HEPA filter helps if anyone on your team has allergies.
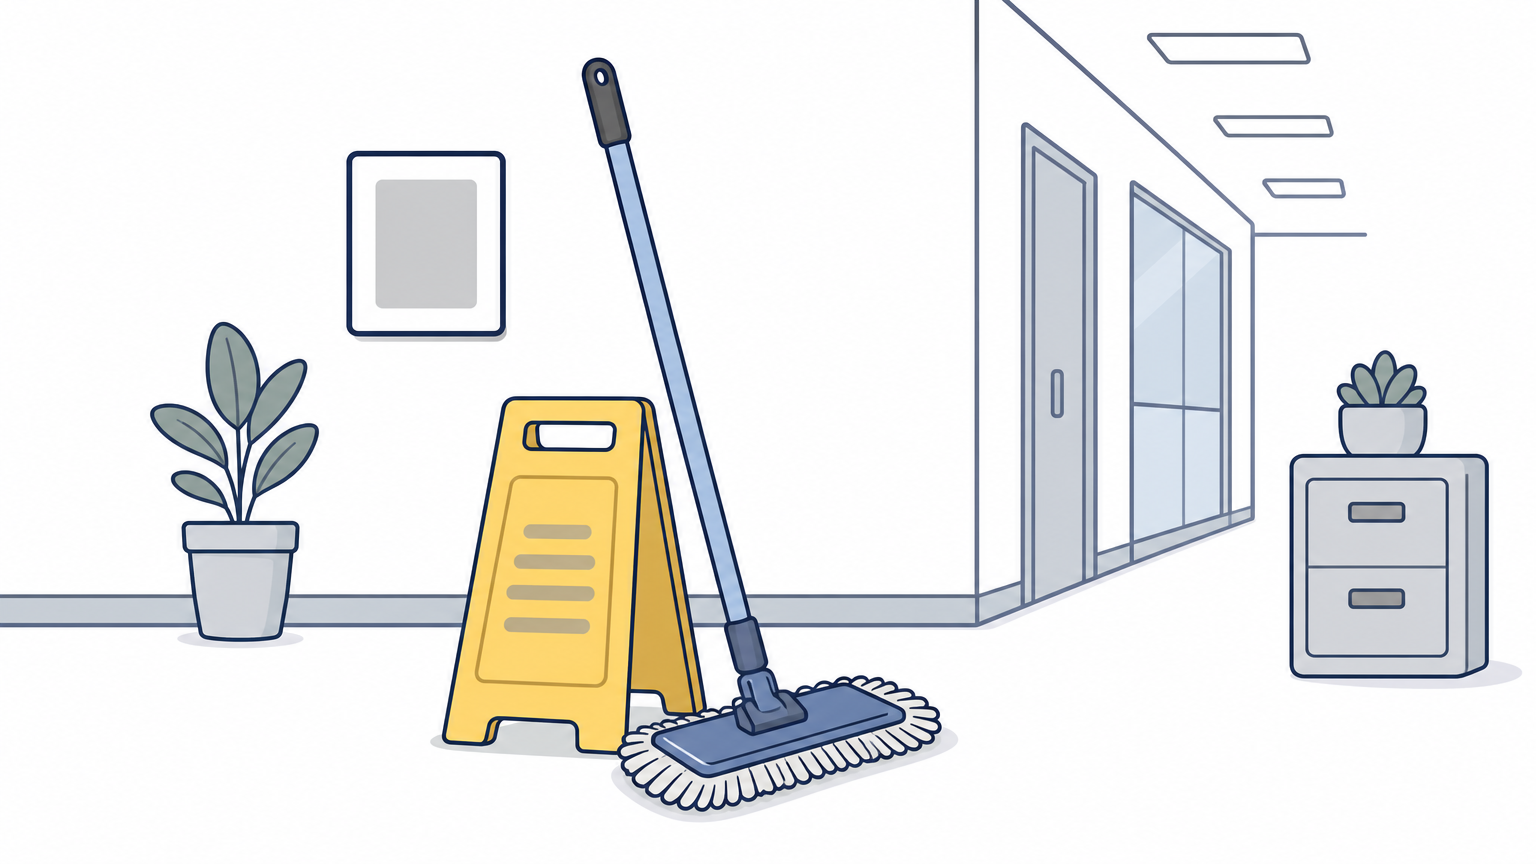
On hard floors, dust-mop or vacuum first, because wet-mopping loose grit just spreads it into a paste. Use a properly diluted floor cleaner and change the mop water when it turns cloudy. Put out a wet floor sign, and mop the break room before the restroom with a separate mop head.
Sweep or vacuum before you mop, because a wet mop over loose grit only moves the dirt around.
Tasks worth handing to a professional
Some tasks need equipment or training that most offices do not have. Stripping, waxing and buffing hard floors, carpet extraction, and exterior window washing are the usual ones. Daily coverage during business hours, such as a day porter who restocks restrooms and wipes the lobby, is another.
Sacramento Cleaning Services LLC offers commercial office cleaning with flexible scheduling, floor care covering buffing, stripping, waxing and mopping, and window washing. Cost depends on square footage, how often crews visit, and the number of restrooms and kitchens, so request a written estimate rather than trusting a flat rate quoted by phone.
Make the routine stick
Cleaning an office well comes down to order and repetition: trash and dust first, high-touch surfaces next, break room and restrooms after that, and floors last. Put the schedule table where your team can see it, assign each step to a named person, and review it after the first week. The first week tells you which steps take longer than the 100-minute baseline.
If your office is in the Sacramento area and you would rather hand the routine to a licensed, insured commercial office cleaning crew, request an estimate from Sacramento Cleaning Services LLC and tell them which services you need.